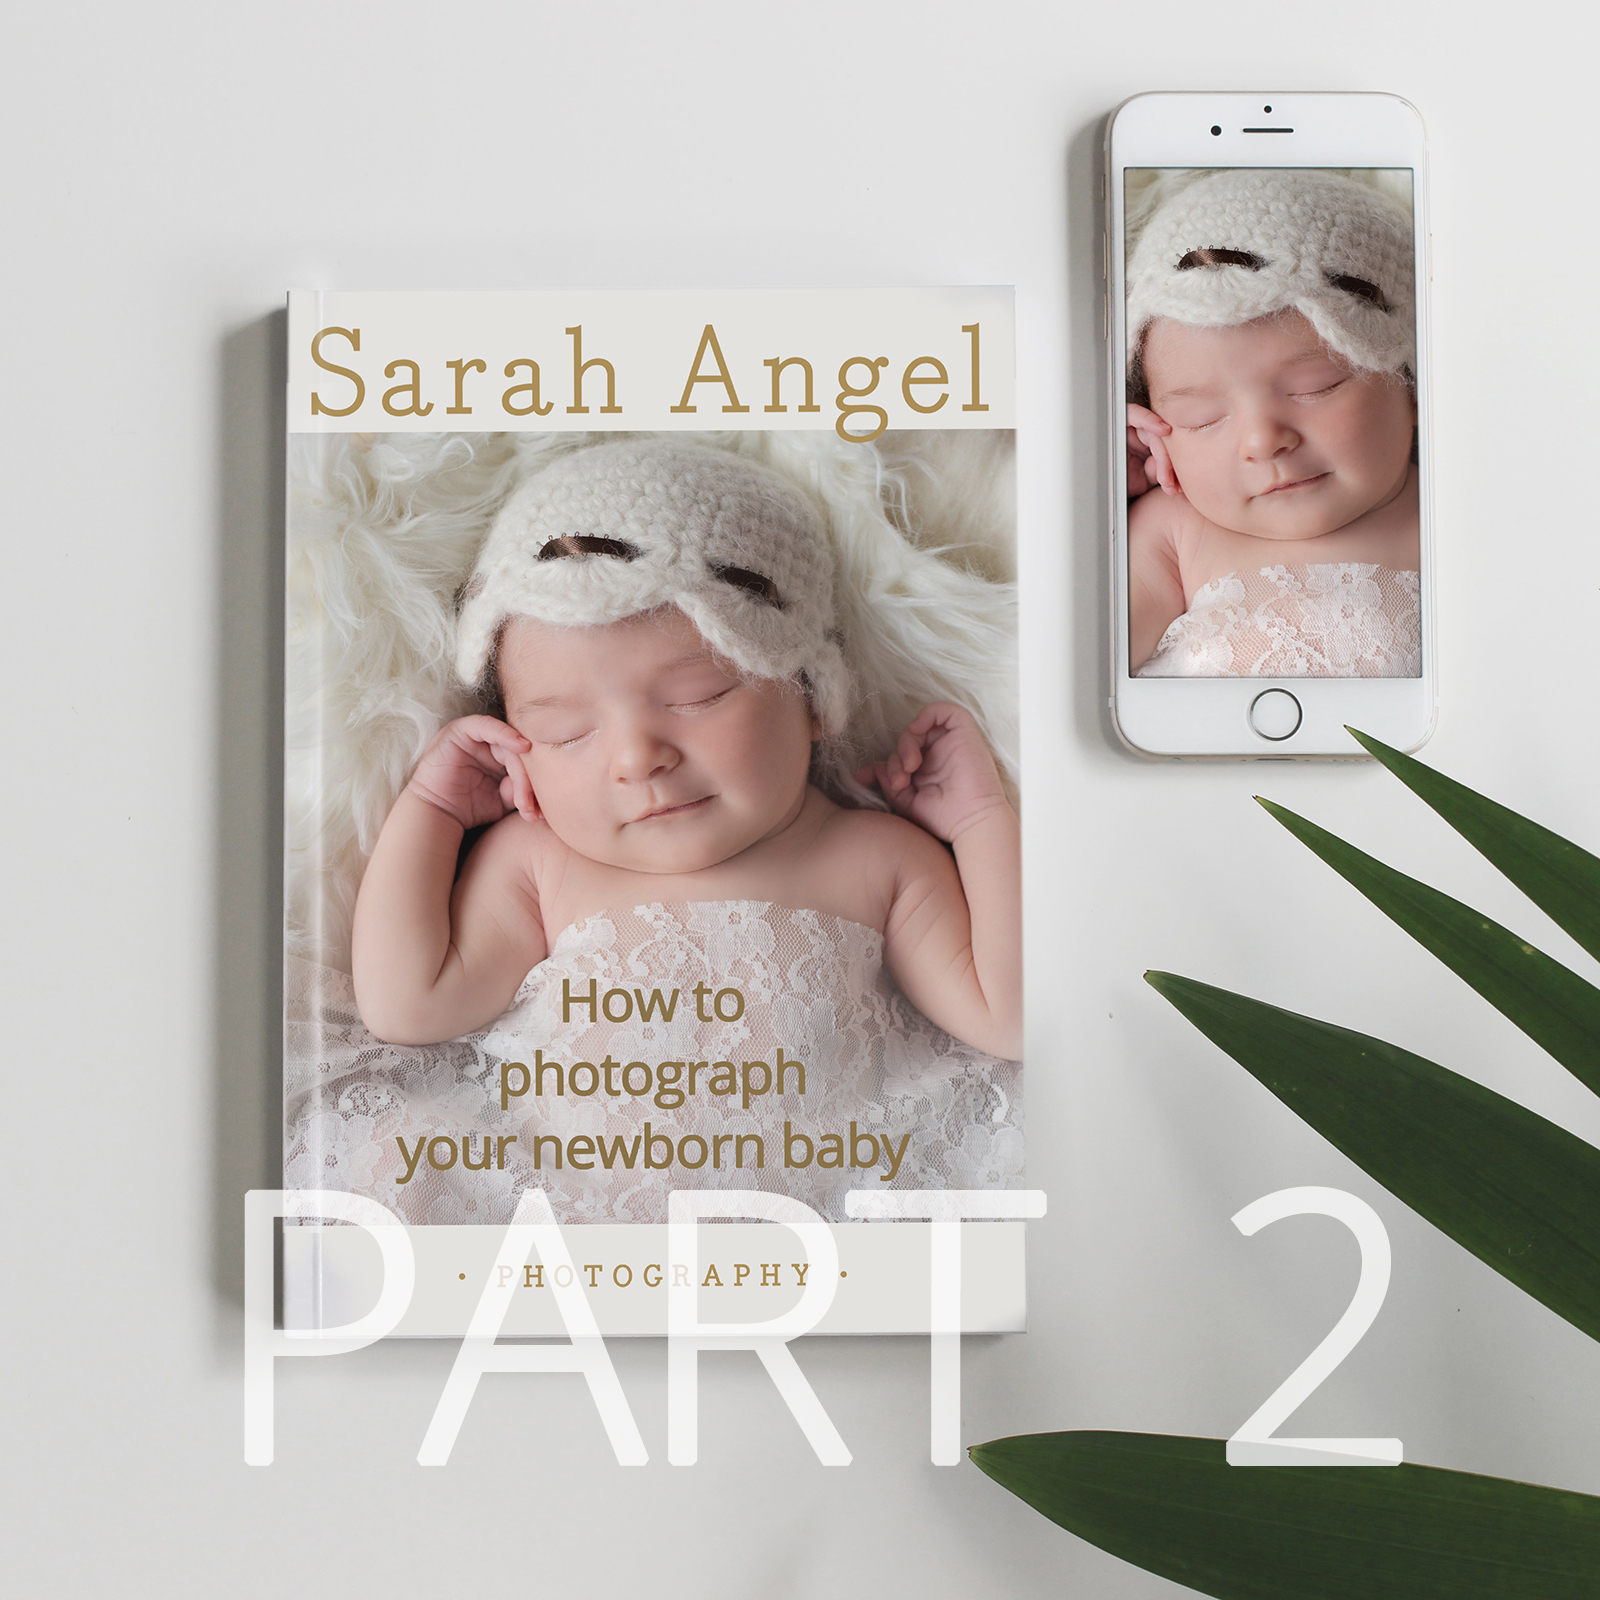
How to photograph your newborn baby – during Lockdown (part 2)
How to photograph my newborn baby during lock down has become a frequently asked question during our current crisis with Covid 19. With so many new parents missing out on a newborn photography experience in their home I have really enjoying being able to help by providing this guide to anyone who asks for it.
You can also Download the full guide ‘How to photograph your newborn baby’, for free, over on my Newborn page here.
.jpg)
So hear is part two of my helpful guide on how to photograph your newborn baby during Lockdown. Part 1, which I published in it’s condensed version on my blog last week (you can find it here) has had a great response and last week saw a flurry of enquiries from new parents asking for a copy of my hints and tips guide for photographing your newborn baby at home. I am genuinely thrilled at being able to help in this way.
INTRO Part 2:
Whilst some social distancing measures are lifting and I am currently starting to reschedule my outdoor spring family sessions from end of June onwards, it will be a little while longer before I will be able to visit families in their home for newborn sessions. My guide will be available for as long as it is needed. : )
Bringing a new baby into your family is one of lifes most incredibly big and special moments. These early days with your newborn baby and through each of their monthly milestones, is such a precious time, and yet so fleeting! Coming to grips with a new baby and now a new way of living will be an extra big challenge for any new parent.
Enjoy part two and if you would like a copy of the full guide please on ‘How to photograph my newborn baby’ send me a message on my contacts page here.
6. Placing baby into position
Lay baby down in their most naturally comfortable position first, especially if they are newborn. This might not actually be on their back, even though this is how we are told to place a sleeping baby in their cot.
Notice what position they enjoy sleeping in when held by you. They might be happiest on their side or curled up on their tummy with their head turned to face the light.
.jpg)
When you place a newborn baby into position do it gently and gradually. Keep your hands enveloped around them for security and comfort as you settle them. Leave arranging their hands and feet ‘till last. Once you are certain they are fully settled you can start to move their hands and feet into a better position. (Read on for more safety info on posing newborn babies).
Once you have arranged babies legs, arms and head, use rolled up muslin cloths hidden under a blanket to support them in position.
For slightly older babies, and especially if they are awake and not yet sitting up, laying them on their back and photographing overhead will give you the best result with lots of great interaction. Start with lots of eye contact, smiling and chatting before moving your camera into position. (read on to the end of this article for more info on what to expect from different aged babies.)
For older babies makes make sure they are somewhere low down, preferably on the floor or in the middle of a large bed to avoid rolling accidents. (Read part 1 of my blog here for more safety advice too!).
7. Compose your shot
Creating your perfect newborn pose can be challenging. Lots of patience is required to get them off to sleep and settled in to their pose. So having gone to all this effort, aim to achieve several images from one pose, rather than move a happy sleeping baby.
.jpg)
.jpg)
Avoid photographing up babies’ nostrils. Instead look/point the camera down the nose, front-on or look overhead.
Zoom out to emphasise scale and try placing baby on the ‘rule of thirds’ (two thirds across the picture frame) to create interest in your composition.
Place babies’ hands or feet in Dads hands to emphasise scale.
Don’t forget to zoom in on tiny little features. Newborn fingers and toes, little newborn wrinkles, peeling skin and those delicate little milk spots on their nose will seem a precious and distant memory as they get older.
8. Including siblings
Depending on the age of siblings this is either going to be a walk in the park or an exercise in clever negotiations and perhaps some compromise in the type of shot you might be able to achieve.
Older siblings will obvioucly follow instrucions and be safe to hold a newborn baby on the floor or propped up with cussions or pillows in the middle of your bed. I find getting them to cross their legs creates a good nest shape for baby to sit in.
.jpg)
Younder siblings who are willing might be more comfortable being layed down next to their baby brother/sister so you can photograph them standing overhead. Remember my lighting tips from part one (here). Position them in good light with heads facing towards the main/brightest light source in the room.
Aim to be relistic with much younger siblings. I find many 2 year olds smply find it too dificult to remain still for more than a few seconds and sometime occupying them with reading a story next to or even simply near to baby can create some fun and memorable ineractions that go beyond a traditional portrait set up.
9. Using your smart phone
Different cameras will have different response times but to be certain of a sharp image give your camera time to settle on it’s subject. Smart phones often need a few seconds to achieve optimum focus and exposure as well as time to capture the image on its memory card. Wait a moment before clicking and then wait a moment again after clicking.
Often with many smart phones you can usually touch the screen on the part of the image you want most in focus and with the best exposure/best light and it will adjust it’s settings accordingly. Tap on the baby’s eye’s / face (on the camera screen), to make sure these are most in focus and in best exposure.
.jpg)
Have a look at your smart phone’s instruction manual and see if it has a setting that will defocus your background. It might be called ‘portrait’ setting. Professional portrait photographers will often want their subjects face in sharp focus and their background softened/blurred. This will make your subject stand out more in the image.
Move in rather than zoom in. A smart phone image can comfortably be printed at 5 x 7inch size print and can be pushed to print at 8 x 10 however you might notice the image, at this larger printed size will look a little grainy. If you use the zoom function on your phone to create a close up image you will end up with a much grainier image when trying to print a 7x 5 inches or larger image. So instead of using the phones zoom function, physically step in closer to fill the frame.
10. Editing images on your smart phone
You might be able to download your pictures onto a desktop computer or laptop to edit your images in photoshop however you can get some good results by using downloadable apps for editing on your smart phone.
You will be able to: sharpen babies face; lift any heavy shadows, making them a little lighter and softer; lighten the image overall; adjust the colours; make the image slightly warmer or cooler. You can also crop images and switch it to black and white.
.jpg)
Many of these types of adjustments will be down to personal taste and the best way to find out what works for you is to have a go and play.
The following editing apps are worth trying: Photoshop Express, Snapseed.
You can also join images up to produce a little slide show to music using: Animoto or iMovie.
For more inspiration:
If you enjoyed this article and want some more inspiration
click here to read part one – How to photograph your newborn baby during Lockdown
click here to view my ‘Babies at Home’ gallery
To access my full guide for new parents on how to photograph your newborn baby during Lockdown please get in touch with me via my contacts page here.
.jpg)
Sarah Angel is a professional Newborn and Family Photographer based in Farnham, Surrey and photographs families across Greater London, North hampshire and Surrey. She is Fine Art trained and holds a 1st class honours in Photography. Prior to establishing her family photography business she worked in education as a Secondary School Art and Photography teacher for 20 years. She continues to teach, running photography workshops for beginners.
